Mobtrap
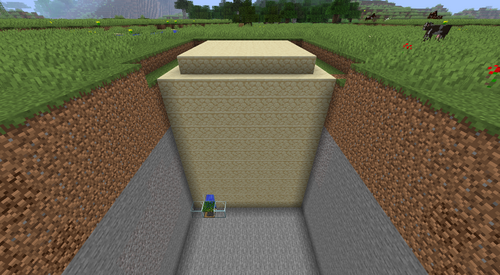
A mobtrap, also known as a mob farm or a mob grinder, is a structure built to acquire mob drops and XP more easily and in larger numbers.
Contents
Introduction
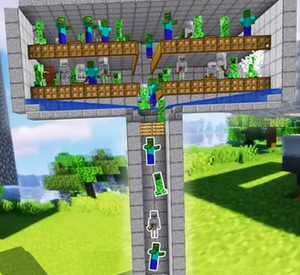
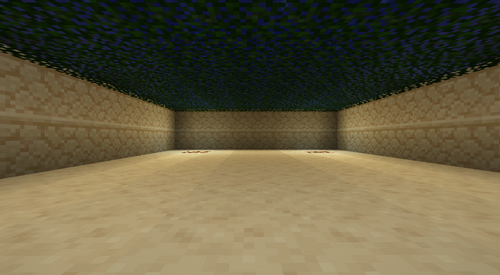
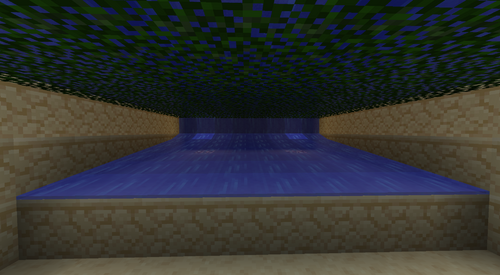
A mobtrap usually consists of two components: a large, dark room to spawn mobs, which are funneled into a central location, and a mob grinder to kill them quickly and efficiently.
Better than Wolves adds many improvement to mobtraps over vanilla :
- Mobs that are within loaded range will always wander and move around (in vanilla they stand still if they're too far away from you)
- Mobs will drop XP, in the form of Dragon Orbs no matter what kills them (in vanilla it's only if the player kills them)
- Vine Traps are added as a block, which are better to use than signs or trapdoors
- Mobs have a 75% chance to drop the tools they are holding, and a 100% guaranteed chance for armor (iron sword and shovel for zombies, iron armor from both zombies and skeleton, stone sword for wither skeletons and gold sword for zombie pigmen)
- This makes a mobtrap an infinite source of iron
- The spawn chunks are always loaded. This is a 17x17 chunks area, centered around the chunk where your compass points to (a chunk is 16x16 blocks, so that's a 272x272 blocks area). This means that no matter where the player is in the world, this area will always be active, and farms built there will keep producing all the time, unlike any other place in the world, which is only loaded when the player is within 128 blocks of it.
But Better than Wolves also adds some features that make them harder to build :
- Water sources can't be placed, and water can only be moved upwards using Screw Pumps, which can be expensive to build before you have a mobtrap to accumulate iron. This means that picking the right location for your mobtrap is not easy, and will require you to use existing bodies of water and build water channels.
- The spawn chunks are always loaded, so your mobtrap will never be able to work above 50% efficiency if you don't built it within spawn chunks (you can prevent that by covering the entire surface of the spawn chunks with torches to prevent mob spawning, and by lighting up every caves there as well)
- So, since you have to go through all this work of preventing mobs from spawning in spawn chunks, it makes it very disadvantageous to build a mobtrap anywhere other than within the spawn chunks, meaning that most players end up building their base at spawn (where your compass points to)
- This makes the biomes that are in the spawn chunks very important, since you get different mobs in different biomes. Given the amount of items required to trade with Villagers to progress through the tech tree, and since it requires drops from mobs that can only spawn either in the jungle (jungle spiders), or in swamps (slimes and witches), experienced players tend to pick a world seed that will have either Swamp or Jungle biomes, ideally both, within the spawn chunks.
History
In vanilla Minecraft, you use trapdoors or signs to trick mobs into walking in a water channel, or to fall to their death.
BTW solves the issue of using those bugs by having a Vine Trap block, that serves the same purpose but is easier to make, and less performance-intensive than using signs or trapdoors.
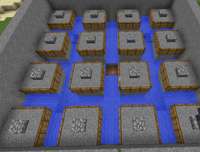
(The slabs are preventing spiders from spawning in the chambers, since they are 2x2, but we'll get to that further down)
In vanilla Minecraft, it is common to build your mobtrap high in the air, and to make mobs die from fall damage for items, or leaving them one hit away from death to get XP.
In BTW, it is better to use water channels and the Saw to kill mobs, since you still get XP in the form of Dragon Orbs when the player isn't the one killing mobs. Blocks that aren't affected by gravity are hard to come by in the early game, so building just above a small lake or a river is preferred. It's also much safer, since death is so punishing in this mod, to avoid building so high up in the air.
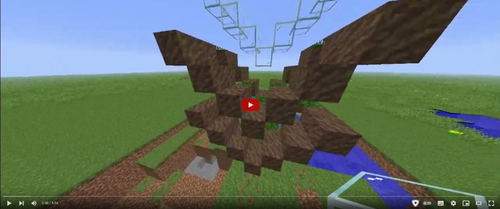
Video tutorial
- Elle:
- Elmi:
Location
Since it's so difficult to move water, it is required to use already existing bodies of water.
This makes swamps an ideal location, because there is a lot of large, shallow lakes, and you can get witches and slimes on top of the regular mobs.
Otherwise, it's best to take a small lake, and extend it to its maximum size.
This allows you to shape your water channel, which will lead mobs to a Saw and kill them (and have some extra water which will come in handy for farming).
Standard mobtrap
Spawning platforms
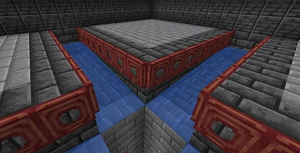
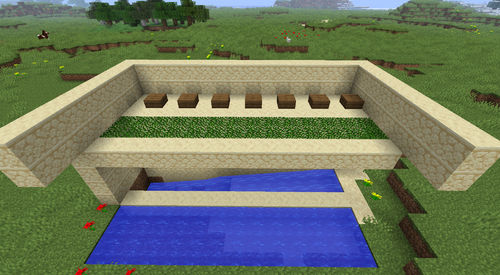
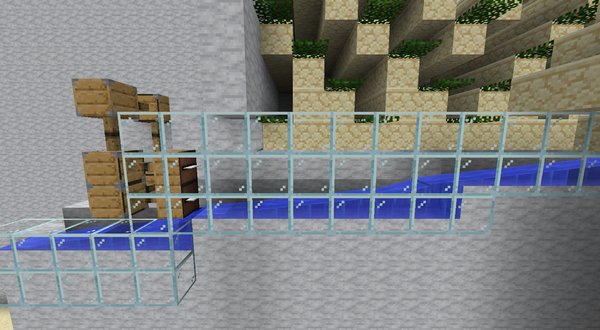
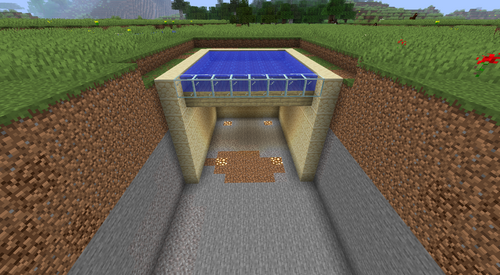
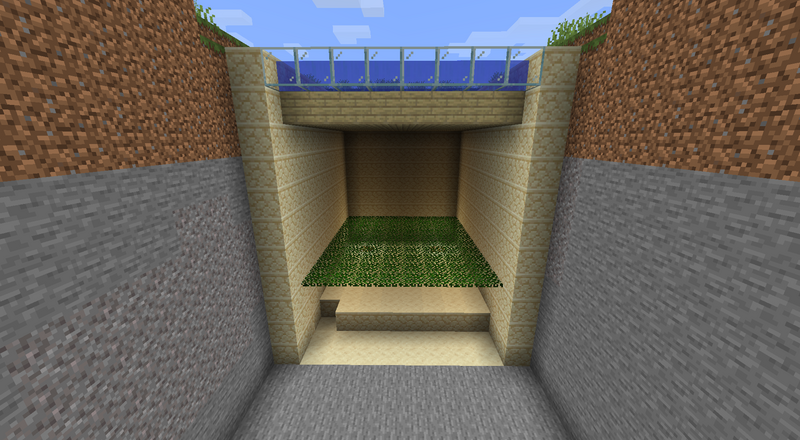
The most basic, least effective setup is just a simple platform of any size, with vine traps above your water channel:
Since spiders are trickier to deal with, because of their ability to climb up walls and to track the player through blocks, it is also common to build platforms that prevent spiders from spawning. Since they are 2x2, using wooden slabs every other blocks means that spiders (and slimes larger than 1x1) can't spawn at all:
The best design
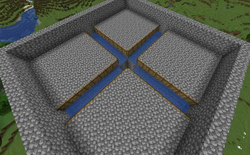
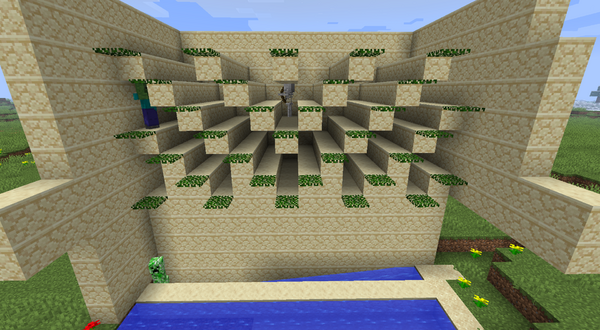
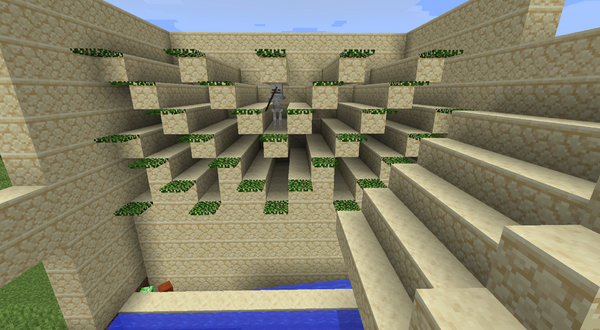
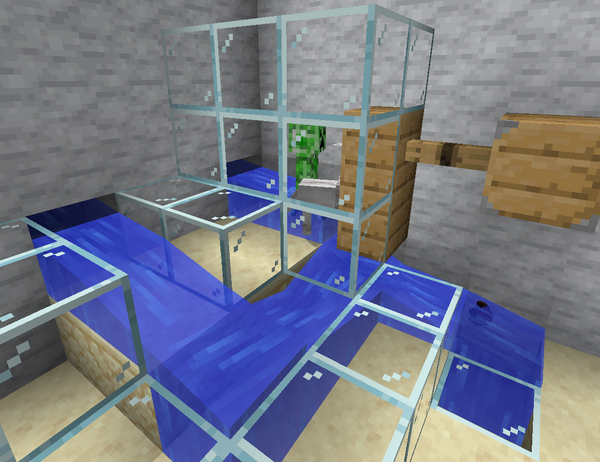
Over a decade of testing has led to the discovery of the absolute best setup possible: The V shape
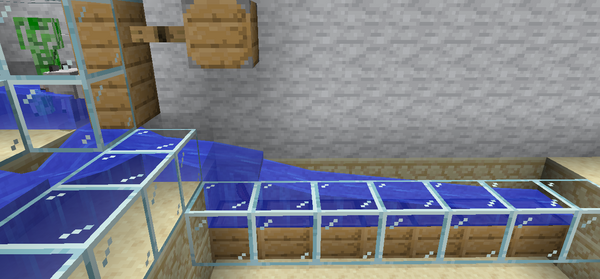
Because of its particular shape, it minimize the amount of vine trap required, and maximize the amount of spawning blocks while preventing spiders from spawning, and takes advantage of the mob's path finding to make them fall down to their death much faster, which all combines to drastically improve efficiency.
Keep in mind that expanding the length of the trap (the amount of blocks on both sides of the vine trap) can be detrimental. Making it too long will allow mobs to move around while avoiding the vine trap, decreasing the mobtrap's efficiency.
It is best to have 6, 7 or 8 blocks max on each side of the vine trap.
Killing mechanism
No matter how you decide to shape your spawning platforms, you will need to make a water channel that leads to Saws to kill mobs, and collect their drops and XP. The saw is the perfect tool for this task, especially because of it's unique shape, which will let items fall "trough". So if you use a water channel to push a mob towards a saw, you're guaranteed to collect any item it'll drop on the block that is just under the saw.
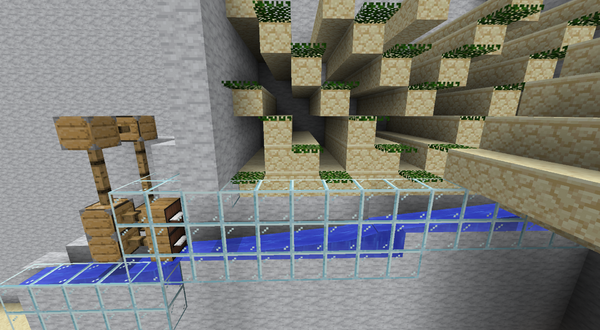
If you're using the V shape design, it's a simple 1 wide water channel leading to 2 saws. Note that you don't even need to power both saws, only 1 is needed, but you do need to place 2, because there is no other block in the game that has the same size. Bigger blocks prevent mobs from being hit by the saw, and smaller ones means that items can land on top of it.
Collecting drops and XP
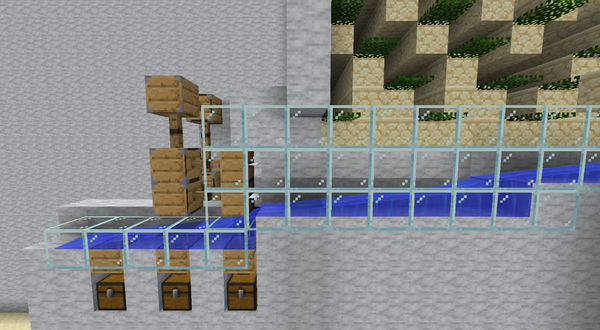
While you can simply place a single Hopper under the saw to collect items, you will quickly run out of storage, and loose a lot of items.
It is better to use a secondary water channel, to be able to move those items to a bigger storage.
The most simple solution is to just have an entire line of hoppers, but in Better than Wolves items all have a specific Buoyancy, so each items will end up in a different place.
You can use powered Hoppers above chests to increase your storing capacity.
But if you want to make sure you're not wasting items, especially iron, you will want to look into using the filter slot of the Hopper.
Filtering and storage
Better than Wolves provides a robust sorting system using the hopper and its filter.
By combining multiple hoppers with different filters and a stream of water, you can sort the items produced by a mob trap, an automated farm, or any other mixed output processes.
The types of hopper filters and what items will or will not pass through the filters are described in the following table.
| Filter | Blocked | Enters Hopper | Examples that enter hopper |
|---|---|---|---|
| |
Not powdery | Powdery | Flour, Gunpowder |
| |
Thick | Thin | Paper, String |
| |
Large Items | Small Items | Feathers |
| |
Mid-sized items | Small or longish Items | Coal, Fishing Rod, Rope, Bones |
| |
Unstackable items | Stackable items | Dirt |
| |
Solid Blocks | Items | Food items |
Because of Buoyancy, some items will float in water, some will sink, and others will be neutrally buoyant.
Using those two systems, it is possible to make a sorting system that filters out items into individual chests.
Detailed Sorting System Guide
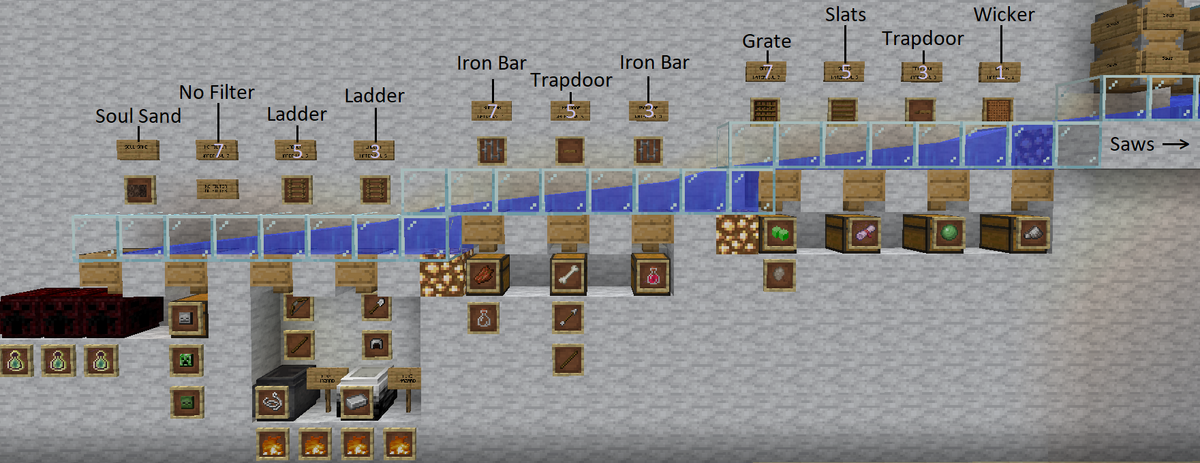
Here's a very straightforward filtering system for a mobtrap built in a swamp:
Each Hopper needs to be placed exactly at the same spot, because as we said, different items will end up in different hoppers depending on the water level
(indicated by the blue number in the signs in the picture above) and the item's weight.
Note that both the Crucible and the Cauldron will need stoked fire from Hibachis, so the above setup should not be replicated exactly, or you will burn down the hoppers above.
Move those drops further away to prevent any risk of fire using an extra water channel.
Let's break it down into 3 parts to explain in more details:
Part 1
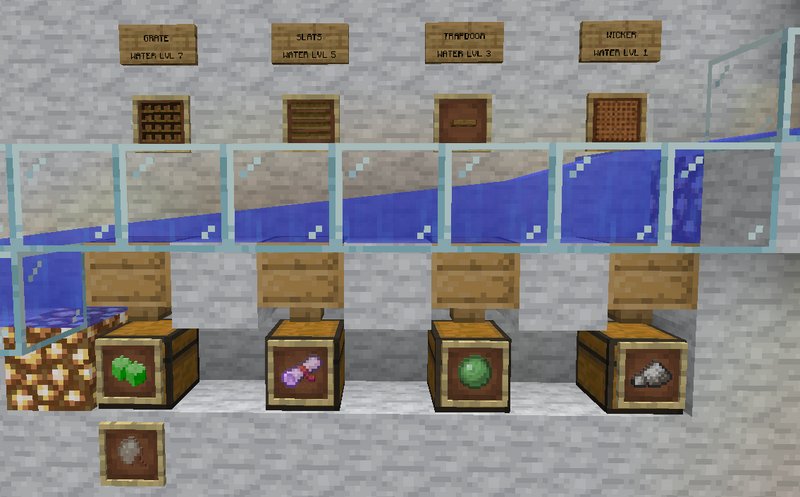
- If you have a Hopper with a Wicker Pane filter just after the water drops down one level (we call that Water lvl 1), only Nitre can get in.
- If after that you have a Hopper with a Trapdoor filter at water lvl 3, only Slimeballs can get in.
- If after that you have a Hopper with a Slats filter at water lvl 5, only Arcane Scrolls can get in.
- If after that you have a Hopper with a Grate filter at water lvl 7, only Creeper Oysters and Witch Warts can go in.
| Filter | Water | Enters Hopper |
|---|---|---|
| |
Lvl 1 | |
| |
Lvl 3 | |
| |
Lvl 5 | |
| |
Lvl 7 | |
Part 2
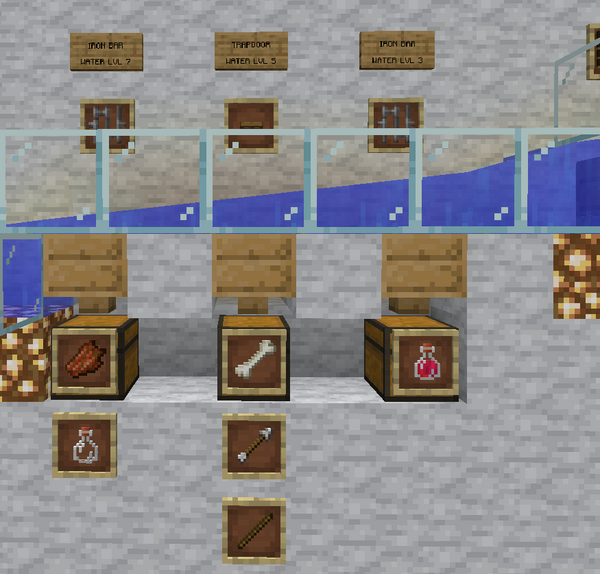
- If you have a Hopper with an Iron Bars filter 3 blocks after the water drops down one level, only Potions can get in.
- If after that you have a Hopper with a Trapdoor filter at water lvl 5, only Bones, Arrows and Shafts can get in.
- If after that you have a Hopper with an Iron Bars filterat water lvl 7, only Rotten Flesh and Glass Bottles can get in.
| Filter | Water | Enters Hopper |
|---|---|---|
| |
Lvl 1 | |
| |
Lvl 3 | |
| |
Lvl 5 | |
Part 3
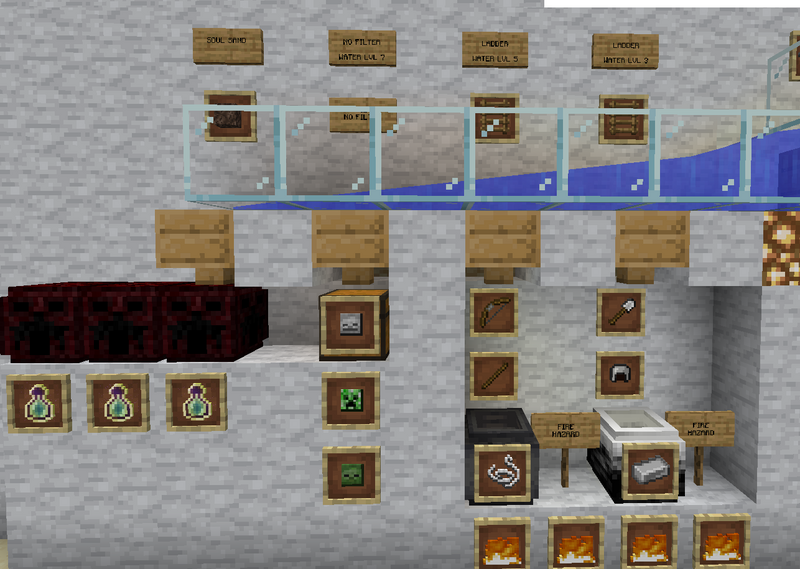
- If you have a Hopper with a Ladder filter 3 blocks after the water drops down one level, only Iron Tools and Armor can get in.
- If after that you have a Hopper with a Ladder filter at water lvl 5, only Bows, which can be rendered into String and Shafts can get in.
- If after that you have a Hopper with NO filter at water lvl 7, you will get any items that are left, which should be mob heads.
- Only XP in the form of Dragon Orbs will remain floating above, to be stored in Hoppers with a Soul Sand filter (can store 5 lvl of XP), or a Vessel of the Dragon (can store 30 lvl of XP).
Note that both the Crucible and the Cauldron will need stoked fire from Hibachis, so the above setup should not be replicated exactly, or you will burn down the hoppers above.
Move those drops further away to prevent any risk of fire using an extra water channel.
| Filter | Water | Enters Hopper |
|---|---|---|
| |
Lvl 3 | |
| |
Lvl 5 | |
| No filter | Lvl 7 | |
| |
Any | |
Jungle Spider Trap
Jungle spiders will only spawn in jungles, on top of leaves.
Jungle spiders are the only mobs that can drop Venom Sack, which is required for Villager trading, and is also very useful to make Invisibility potions, which makes exploring and building in the Nether much easier.
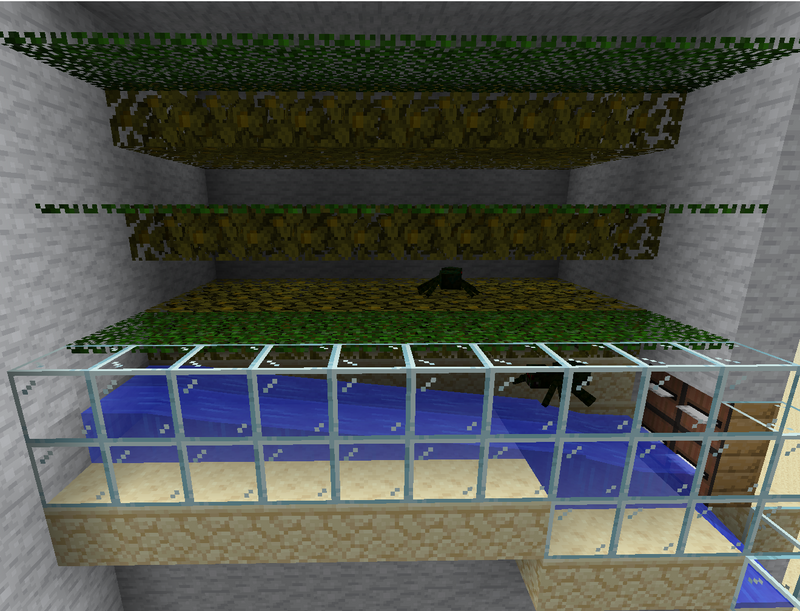
The concept is exactly the same as a regular mobtrap, a big ass cube in complete darkness where mobs will spawn and be killed as quickly as possible.
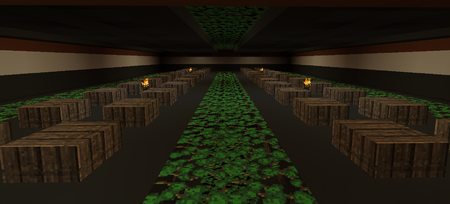
The simplest design is to have a 5 or 6 long, 10 wide spawning platform made of leaves, where you will get both jungle and regular spiders (since you don't get spiders in a V-shape mobtrap, this helps getting Spider Eyes).
(Only half of the spider trap is picture here, you should build more platforms on both side of the water)
Note that you will need a 2 wide water channel at the bottom to move mobs towards the Saws, and that you will need to place 4 saws because of their unique hitbox, but you only need to power 2 of them.
Squid Farm
A Squid Farm will provide not only Ink Sac for Villager trading, but also provide Mysterious Glands for the crafting of Health potions and allow for the farming of Ghasts through {{Possession]].
Details
Squid farms have several difference compared to other mob farms:
- The mobcap (the maximum amount of mobs of a certain type) that can spawn is much lower than for other mobs. Squids have their own unique mobcap of about 12/16.
- Once a squid has spawned, unless it is unloaded or killed, it will most likely stay in the same area.
- This makes the spawn chunks very important, because depending of the amount of water found there, it will be a very different experience.
- Worlds with barely any water at spawn will make it much easier to farm squids
- But worlds with a lot of deep water, especially ocean biomes, will require a lot more work to be able to work properly.
Location
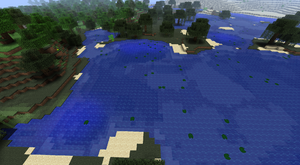
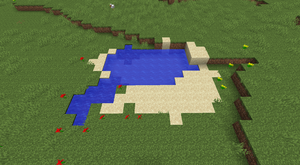
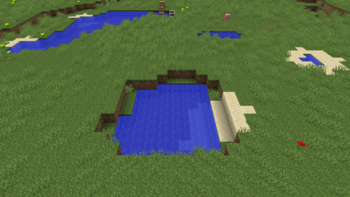
Similar to a regular mobtrap, it is best to set up a squid farm in a location that already has water available.
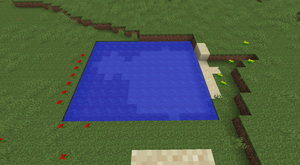
A Squid farm doesn't require too much water, so any pond that you can extend to 8x8 will do:
Spawning Squids
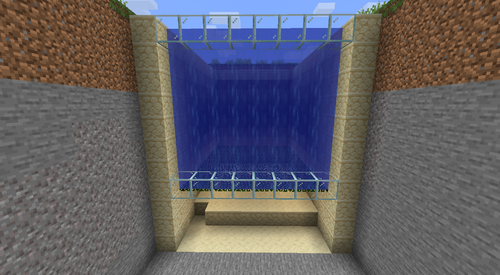
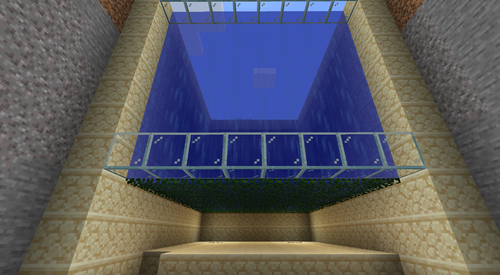
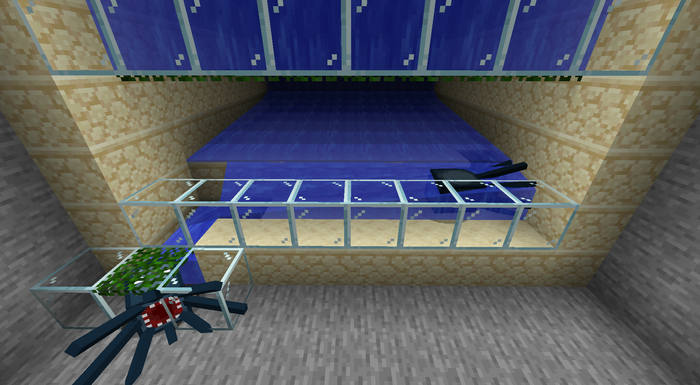
In order to spawn squids, you need to create a cube of water. 8x8x8 is more than enough, since the deciding factor for whether or not your farm works will be the total amount of water in loaded range around you, and how you prevent squids from spawning outside of your farm.
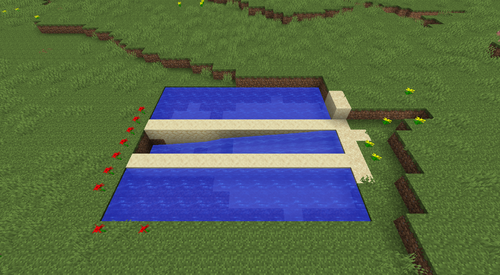
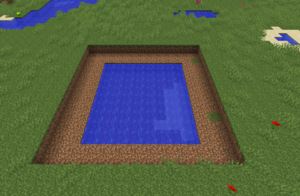
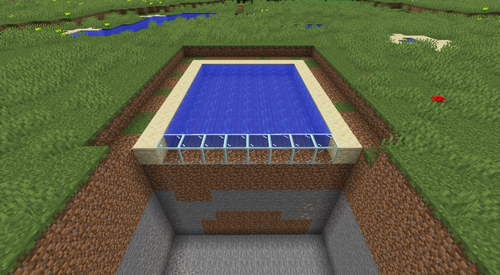
The first step is to dig below the pond, 7 or 8 blocks are enough.
Place a layer of Vine Trap at the bottom, then dig 2 extra block below.
If you remove the blocks under the water, it will create a big water cube for squids to spawn.
Removing a single line of vine traps will allow you to easily create a water flow that we can use to move squids towards the killing point.
It's then just a matter of making a small water channel at the end (here made by just removing one block on the right) :
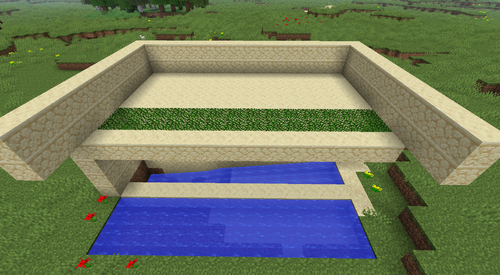
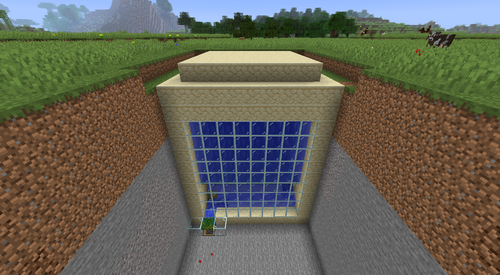
The last step is to close it off properly, as it needs to be in complete darkness:
Killing Mechanism
Since squids will suffocate in the air, no Saws are required, you can simply drop them on top of a Hopper to let them die and collect their drops.
Optimizing the output
The most difficult part of setting up a squid farm is to actually get squids to spawn in your farm, and not outside. Because of their very low mobcap (the maximum amount of squids that can exist at a time), and the fact that once spawned, they will remain there until you move away and unload them, any place where they can spawn outside of you farm will drastically reduce your farm's output.
This makes world where your spawn chunks contain oceans, or a lot of water, much, much harder to squid-proof.
One of the best option you have, to avoid manually filling in lakes and oceans with sand, is to use Cement, which will be able to fill up hundreds of blocks at once.
Your goal is to make sure that they is no place where water is deeper than 2 blocks (since squids need a minimum of 3 blocks deep to spawn).

