Installation
We currently provide two ways of installation: Prism Launcher (or MultiMC) and Vanilla Launcher.
The Prism Launcher and MultiMC are almost identical, but the Prism Launcher is much easier to install, the most up-to-date version and comes with some extra functionalities, which is why it is the recommended launcher to use.
Contents
Single Player : Prism/MultiMC Launcher
Installing the launcher
- First, download the Installer(.exe) for the Prism Launcher here: https://prismlauncher.org/
(The Prism Launcher and MultiMC are almost identical, and both can be used for this guide, even though some options might be placed in different locations, but the Prism Launcher is easier to install and the most up-to-date version, which is why it is the recommended launcher)
- Open that file and install Prism
Downloading the pre-made BTW instance
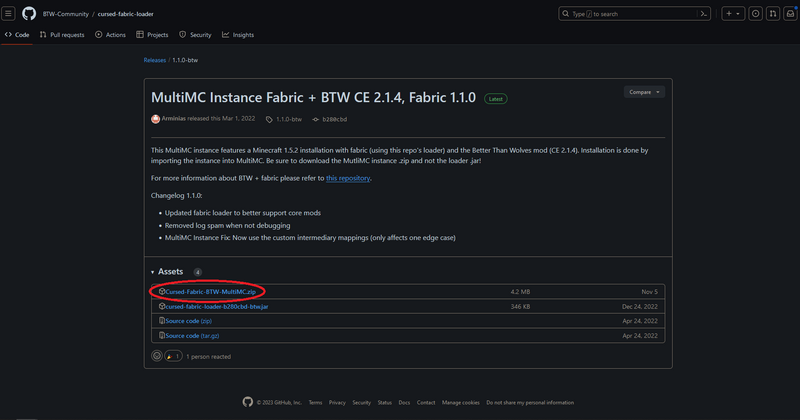
- Then download this .zip file, which contains the whole BTW instance already installed for you: https://github.com/BTW-Community/cursed-fabric-loader/releases/latest
Adding the instance to the launcher
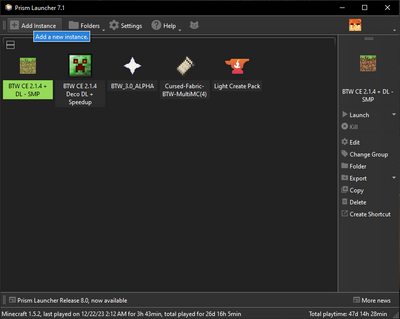
- Open the Prism Launcher, and select the Add Instance option (top left)
- Click on Import from zip, then on Browse, and select the .zip file you just downloaded.
(Optional: Change the name of the instance to your liking)
Using the proper Java version
- The vast majority of you will also need to install the proper version of Java. The easiest option is to download Java 8 here:
Download the .msi file and open it to install Java.
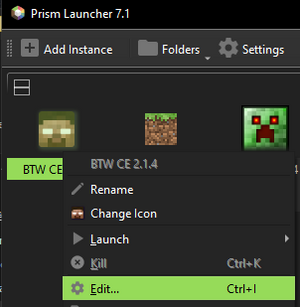
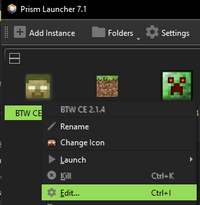
- Make sure you're using the proper Java version in Prism. Right click on the new BTW instance you just created, and select Edit.
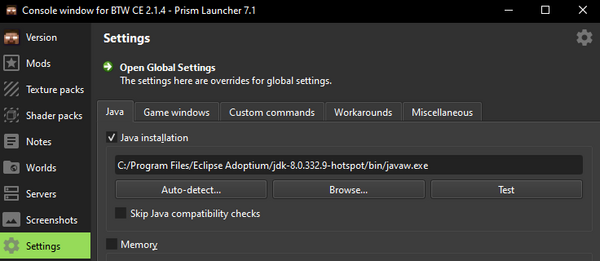
- In Settings, make sure the Java Installation option is enabled, and click on Auto-detect.
- Make sure you select the Java version you just installed. Both jre and jdk version work, jre is smaller. Just make sure it's the correct version (8).
Final steps
Installing Addons
You can add Addons to your instance, but only if they've been specifically made to work with BTW. The most important one is Craft Guide, which is absolutely necessary (it shows every recipes in game when you press G).
Download Craft Guide here : https://github.com/BTW-Community/CraftGuide/releases/latest
Then left click and select Edit on your instance like previously :
Go into the Mods tab, click on Add File and add the CraftGuide.jar file you downloaded :
Starting the Game
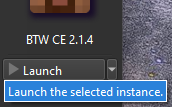
- You can now double click on the instance, or click on Launch and start playing!
(It may take some time, especially the first time, to download and install everything)
If you have an issue installing the mod, check the #faq channel in the BTW Discord: https://discord.gg/wztckS29th, or ask for some help in the #tech-support channel.
Single Player : Vanilla Launcher
Setting up the launcher
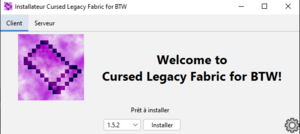
- Download the installer from here: https://github.com/BTW-Community/legacy-fabric-installer/releases/latest
Make sure the vanilla launcher is not running and start the installer. Select "Install".
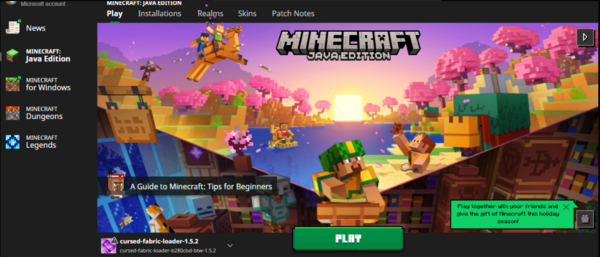
- This will now have generated a new profile in the Minecraft Launcher.
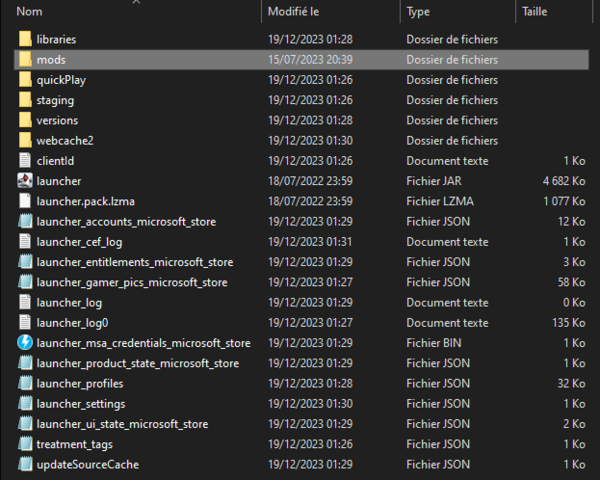
- Click on the Installations tab, select the new instance and click on the folder icon, which will open the folder where your new instance is located.
- Create a "mods" folder or backup and subsequently empty an existing one.
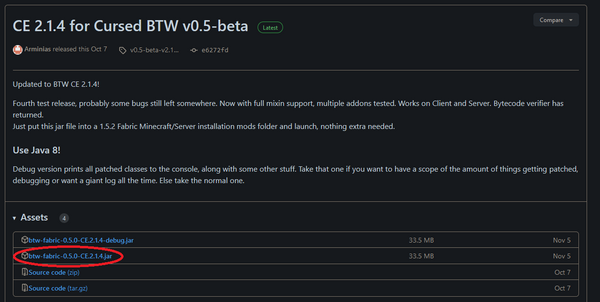
- Download the BTW mod and put it into the /mods folder: https://github.com/BTW-Community/Cursed-BTW/releases/latest
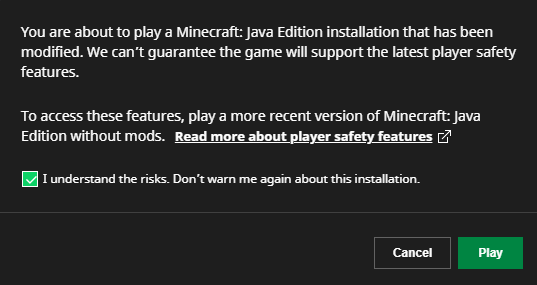
- Click on Play and ignore the warning.
- Wait for everything to download and install properly. This may take some time, especially during the first install.
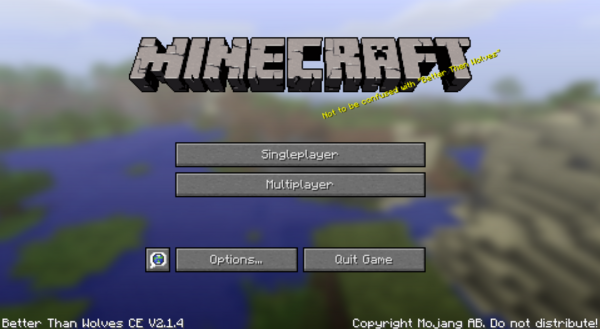
- Once the game is launched, you can easily know if everything worked properly by looking at the bottom left, where it should say Better Than Wolves version XX.
If you have an issue installing the mod, check the #faq channel in the BTW Discord: https://discord.gg/wztckS29th, or ask for some help in the #tech-support channel.
Multiplayer Server Hosting
Downloading the BTW server installer
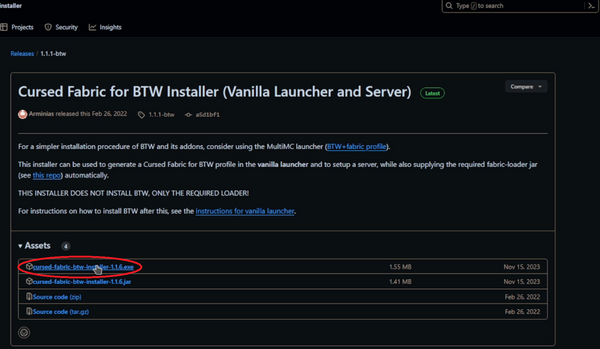
Installation is done with our fork of the fabric installer. Download it from here : https://github.com/BTW-Community/legacy-fabric-installer/releases/latest
Using the proper Java version
You will need Java 8 to launch the server : https://adoptium.net/temurin/releases/?version=8&package=jre&arch=x64&os=windows
Make sure you keep track of where you install it (if you didn't pick a location it should default to C:\Program Files\Eclipse Adoptium\jre8.0(...)\bin\java\java.exe).
Installing the server
Run the downloaded installer.
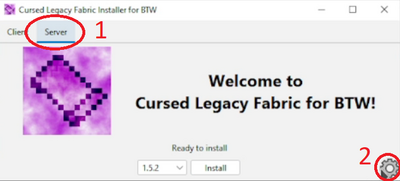
Select the "Server" tab (1), then click on the settings icon in the lower right corner (2).
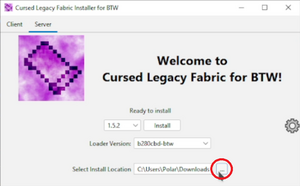
Change the installation location as you wish :
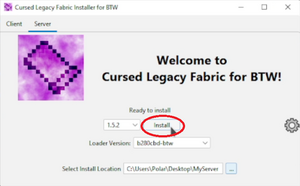
Click "Install", wait for it to finish.
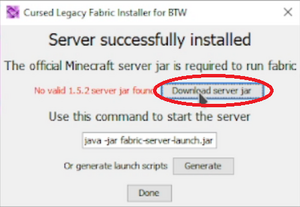
A new window will appear, click "Download server jar", wait for it to finish.
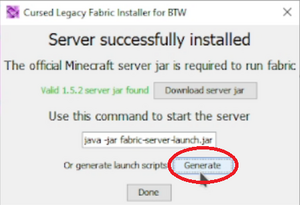
Then click "Generate".
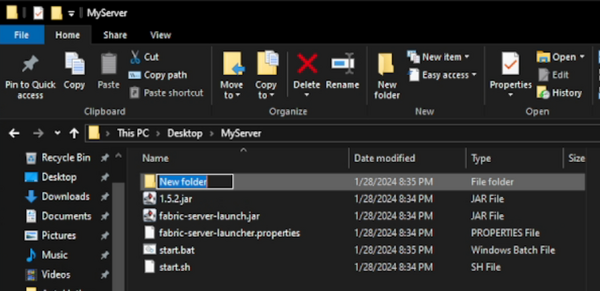
Click "Done" and exit the installer. Open your installation directory.
Adding the latest BTW version to the server
Create a "mods" folder if one doesn't exist already.
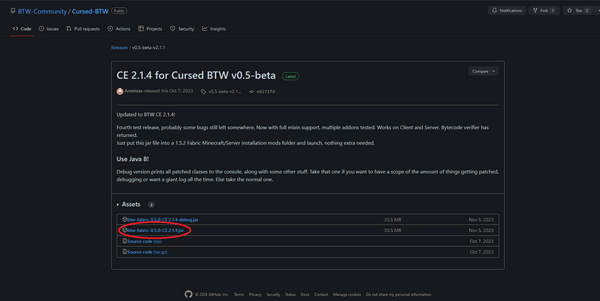
Put this mod into it : https://github.com/BTW-Community/Cursed-BTW/releases/latest
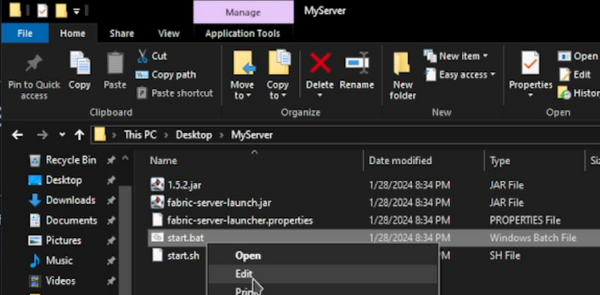
Setting up the proper java version in start.bat
Left click on server.bat and click on Edit
Make sure you are using the proper path to the java version you installed earlier :
(if you didn't pick a location it should default to C:\Program Files\Eclipse Adoptium\jre8.0(...)\bin\java\java.exe)
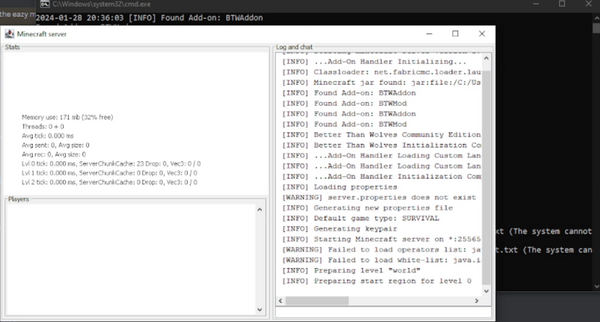
Starting the BTW server
Double click on the server.bat file, which should open up the console.
Congratulation, you are running a BTW server !
Extra resource
Forum guide : https://forum.btwce.com/viewtopic.php?t=10201
If you have an issue installing the mod, check the #faq channel in the BTW Discord: https://discord.gg/wztckS29th, or ask for some help in the #tech-support channel.
Sources
Make sure you check the BTW Github: https://github.com/BTW-Community
And the BTW Discord: https://discord.gg/wztckS29th


